If you're looking for a fun and creative way to celebrate Halloween this year, why not make your own treat bags? Homemade treat bags are a great way to get into the Halloween spirit and add a personal touch to your celebration. Here are some easy steps to make your own Halloween treat bags that are sure to be a hit with kids and adults alike.
Step 1: Gather Your Materials
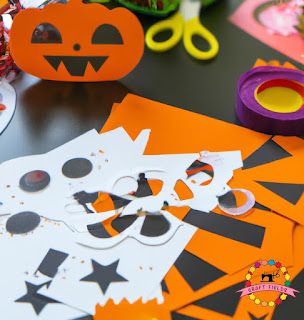
To make your own Halloween treat bags, you'll need a few basic materials. Here's what you'll need:
- Small paper bags or fabric bags
- Halloween-themed stickers or stamps
- Markers or paint
- Ribbon or twine
- Assorted Halloween candy
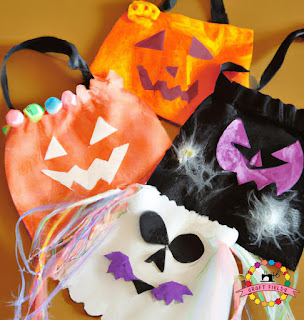
Materials needed for making Halloween Treat Bags Step 2: Decorate Your Bags
Once you've gathered your materials, it's time to start decorating your bags. You can use Halloween-themed stickers or stamps to add a spooky touch to your bags. You can also use markers or paint to create your own designs. Get creative and have fun with it!
Decorated Halloween Treat Bags Step 3: Fill Your Bags with Candy
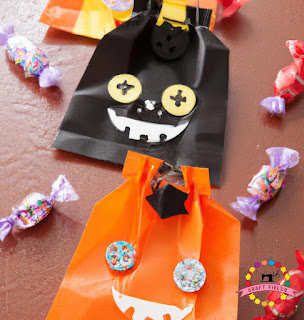
After you've decorated your bags, it's time to fill them with candy. You can use a variety of Halloween candy, such as mini chocolate bars, gummy worms, and candy corn. Be sure to mix and match different types of candy to make your treat bags even more fun.
Filled Halloween Treat Bags Step 4: Tie Your Bags with Ribbon or Twine
Finally, tie your bags with ribbon or twine to complete the look. You can use a variety of colors and styles to match your Halloween theme. This will also help keep the candy in the bag and make it easier for kids to carry.
Tied Halloween Treat BagsAnd there you have it! Your very own homemade Halloween treat bags that are sure to be a hit with everyone. These bags are easy to make and are a fun way to get into the Halloween spirit. So why not give it a try this year and see how creative you can get?


0 Comments